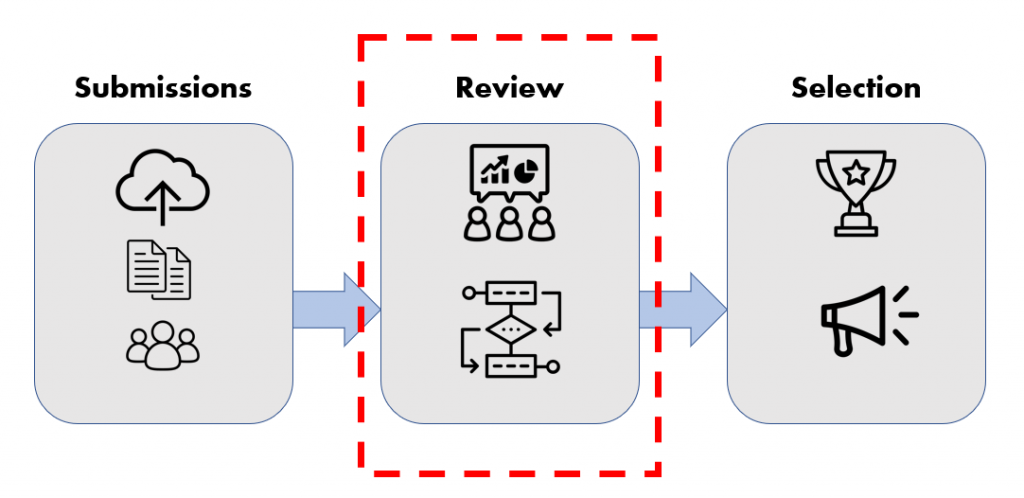
Quick Start: Review and Scoring

When your submission form is live and you're receiving submissions, you can prepare for review and selection. These steps will get you started. (If you have not set up your form, go and see Quick Start: Collect Submissions.)
Add Scoring Criteria
First, set up your scoring criteria. This is what reviewers will use when rating a submission. You can use just one, or several. You can call them whatever you want, and include whatever options you want. But you must create at least one. Start by clicking "Review" in the left navigation, then look for the "Scoring" tab.
Click the blue "Add" button to create your first scoring criteria. Add a Label, and adjust the Ratings if you wish. Be sure to follow the example format of a numeric score, followed by "|" and then the score name. For example, "4|Excellent". Click the blue "Add Scoring" button to save it.
Add Reviewers
Next, add your review team. Make sure you have an email address for each reviewer, and go to the main Review screen (from the left navigation, click "Review"). Then click the blue "Add Reviewer" button. Enter your reviewers in the box, one email address per line. Then, click the blue button to save them. This will not send any emails or notifications to the reviewer. You will do that later.
Assign Submissions
Each reviewer will be scoring some or all of your submissions. You can manually assign submissions, or automatically assign them.
Manual: Navigate to the main Review screen, then click the blue "Assign" button. This will show a list of your submissions. Use the checkboxes in the table to select some submissions. Then, use the controls below the table to assign or un-assign submissions to reviewers.
Automated: You can assign all submissions to all reviewers using the "Assign All" button below the table. You can also automatically assign new submissions when they arrive. See the workflow page for details.
Begin Review
When all submissions have been received and assigned, you're ready to begin reviewing. Each reviewer receives a unique URL to use. Send it using the following steps.
Create: Click "Message Templates" in the left navigation, to view your message template list. Click the blue "Add Message" button, then when the form appears click the gray "Use Template" button, then select "Your Reviewer Information" from the list. This will populate the form for you. Add or change the message as you wish. (Be sure to keep the {REVIEWER_URL} tag in the message.) Click the blue "Create" button to save it.
Send: After creating your message, navigate to the main Review screen. Below the reviewer list, you will see a "Send Message" section. Select the message you created above, then click the blue "Send" button. After confirming, each reviewer will receive their own review link, in your message.
Monitor Progress
The main Review screen shows a list of reviewers. For each reviewer, you can see the number of submissions assigned, number of scored, and percent complete. Once the reviewers begin scoring, you will also see a graph on the Dashboard showing progress for each reviewer.
When your review process is complete, you are ready to make your selections. See the Quick Start: Selection guide for more information on this process.