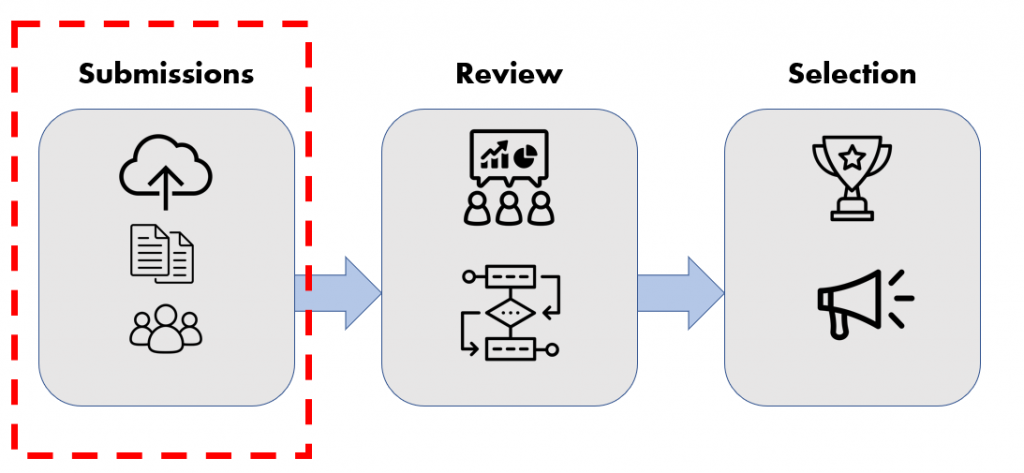
Quick Start: Collect Submissions

When using Review Star, everything is based on a submission form. Follow these steps to create and customize your form.
Add a Form
After logging in, look for the "Forms" link in the left navigation. Click that, and then click the blue "Add Form" button. Enter a title for your form, and click the blue "Create" button.
Presto! Your form is created. You'll probably want to customize it a bit.
Customize Your Fields
You can add and customize the questions in your form. In Review Star, we call these Fields. To change them we start with your list of forms. If you don't see the forms list, click the "Forms" link in the left navigation.
From there, click the name of your form. This takes you to the form edit screen. There are several tabs here: Settings, Form Fields, Subforms, Personalization, History. Click the "Form Fields" tab heading to see the fields in your form.
Use the blue "Add Field" button to add new fields in your form. There are several types of fields. You can group and order the fields in your form, and customize it to suit your needs.
Personalize Your Form
Upload your own header logo on the "Settings" tab (click the green "upload" box). You can also create a custom form URL on the "Personalization" tab. Just update the text in the "Custom Link" box to change your form URL to something like https://reviewstar.io/f/FanFest2021
Add Automation (if needed)
Review Star's powerful workflow tools can automatically send email notifications, tag submissions, assign reviewers, post to external systems, and more. Use the "Automation" link in the left navigation to explore these features, and have a look at the workflow page to learn more.
Start Collecting Submissions
Your form is already live! When you're ready for submissions, copy the link to your form and share it. You can see the link on the form Personalization tab below the Custom Link box, and the blue "View Form" buttons.
These are the basics for setting up your form. If desired, you can configure other information on your form. You can add custom HTML instructions at the top of your form, set a custom confirmation message, choose a different email reply-to address, and more. For full details see the collecting submissions page.
When you are ready to move on to submission review and selection, see the next guide - Quick Start: Review and Scoring.