Approving and Rejecting Submissions
Review Star provides several tools to support approval and rejection of submission within the platform. Whether your process involves individual emails, batch notifications, or even using a different tool, we can help you organize and manage the process efficiently.
Tags
Our Tags feature helps organize your submissions. To support the approval and rejection process, you can use the Tags feature to create two tags, called "ACCEPTED" and "REJECTED", or whatever name makes the most sense to you. Update the tag colors to green and red if you like, to help differentiate things visually. (Use the "Tags" link in the main navigation, to manage your tags.)

Email Templates
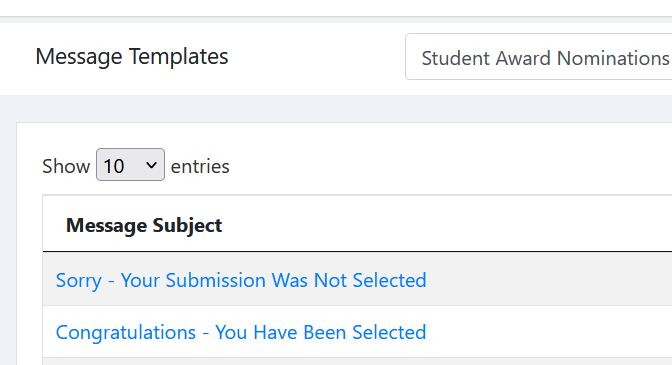
Our Message Templates feature helps you communicate with submitters and reviewers. To support approval and rejection, you can create two new message templates - one for notifying the accepted people, and another for notifying those who were not accepted. Creating a new Message Template just prepares the email message for later. It is not sent until later. You are basically creating a form letter to be used in a future step. (Use the "Message Templates" link in the main navigation, then the "Add" button, to get started.)

Option 1: Tag and Send Bulk Notifications
Step 1: Identify the submissions you have chosen to accept, based on your review and scoring process.
Step 2: Tag the submissions using the "ACCEPTED" tag (or whichever tag you have chosen to indicate the submissions you are selecting).
Step 3: Filter the submissions list based on your tag (e.g., view the submissions list and enter "ACCEPTED" in the filter box above the right side of the list).
Step 4: Check bulk selection box (above the left side of the submissions list). This will select all filtered submissions.

Step 5: Use the "With Selected" dropdown above the submissions list, select "Send Message to Submitters", then click the green "Go" button.

Step 6: Select the Message Template you wish to send to the submitters.

Step 7: Carefully review the number presented in the confirmation box looks correct. (e.g., if you have 47 accepted submissions, the confirmation dialog should show it is sending 47 messages). If it looks correct, click "OK" and the message sending process will begin immediately. If you are not sure, click "Cancel" and no messages will be sent.

Repeat the steps above for notifying your rejected submissions (filter for "REJECTED", then select all, then use "With Selected" -> "Send Message to Submitters" and use your rejection message template.
Option 2: Notify Individually
If you wish to send your accept/reject messages individually, simply uncheck all boxes, locate the submission you wish to contact, check the box for that one submission, and use the "With Selected" dropdown to send the message.

Option 3: Notify Externally
If you prefer, you may choose to notify your submitters outside the Review Star system. (e.g., email submitters directly, or import your submitter email addresses into a different contact management system). Use the data export feature to download your submission data in CSV format. This will include the email addresses for each submission, which can then be used for manual emails or loaded to a mailing list tool.
